

(which comes with treat bags and stickers and three "Birthday Princess" printouts)


The coolest part is that we found the Wilton Cake Stand at Dollar Tree! Check your local Dollar Tree stores for more, I saw princess and one for boys, which was sport related. I was really tempted to pick more than one up, but was able to curve my appetite for shopping!
I took pics along the way, but they aren't the greatest, but I'm sure they will do!
Ingredients
- Wilton Cake Stand Kit
- Styrofoam Circles
- Piece of Cardboard (big enough to cut out a 10" circle)
- Scissors
- Hot Glue Gun
- First I put together the cake stand as directed on the box, but I did NOT attach the circle piece to the cake stand, I left that to the side and used that as the top tier.

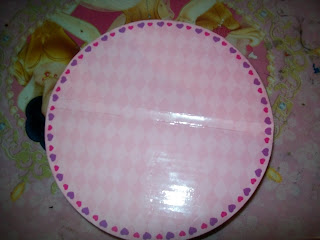
- I then used some styrofoam circles approx 5 inches tall (also found at Dollar Tree, but can also be found at ANY craft store for VERY cheap). It is pictured above, wrapped in ribbon.
- I wrapped the styrofoam circle in ribbon to match the cupcake/cake stand holder and party decor. I simply hot glued the ribbon around the foam. BE VERY CAREFUL, the styrofoam can melt, so you have to work quick and fast, but also take your time to be sure you don't burn your fingertips or the styrofoam too much.

- I put that to the side to dry.
- This step is totally optional, but I reinforced the part of the stand that holds the cake. When you open the cake stand box, the circle is folded, and won't hold a lot of weight without proper support, so I had no other choice but to reinforce it and I am sorry that there are not any pics of this part.
- To reinforce the cake, just get a piece of cardboard, (I used an empty cardboard shipping box), but any cardboard will do, even the top of your pizza box.
- Trace the circle that came with the cake stand
- Cut that circle out, I actually had DH cut them out with a razor blade.
- Hot glue the cardboard circle to circle that comes with the cake stand. I just squeezed some hot glue in zig zag pattern in the middle of the cardboard boxes, glued them together, and then glued together any obvious openings.
- Let it sit to the side to dry
- The next step is to glue the styrofoam circle to the cake stand circle, not to the base


- Hot Glue the stand to the base and viola!


This end up holding a 2 layer super yummy lemon cake with chocolate icing, and 12 mini cupcakes. It could possibly hold 5-6 more in the back, but with the cake and number of guests, we didn't need that many.
I would say the project cost about $5 for the materials, and it was fun to make. I'm thinking of even more fun to have with it... stay tuned :-)
P.S. - thanks for reading.


No comments:
Post a Comment